Santa Claus Say Hi Ornament
A Designer’s First Look: Friendly, Festive, and Fit for Real Projects
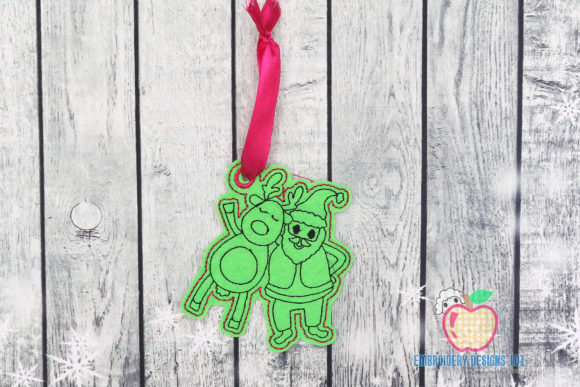
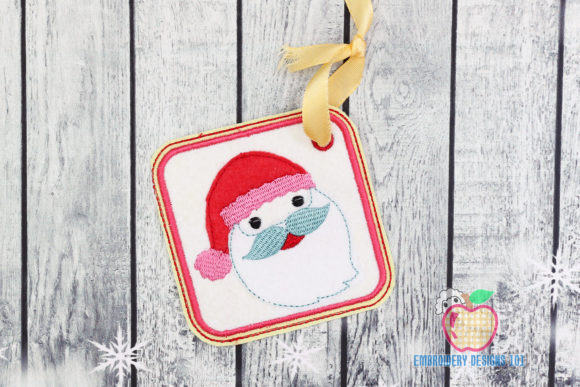
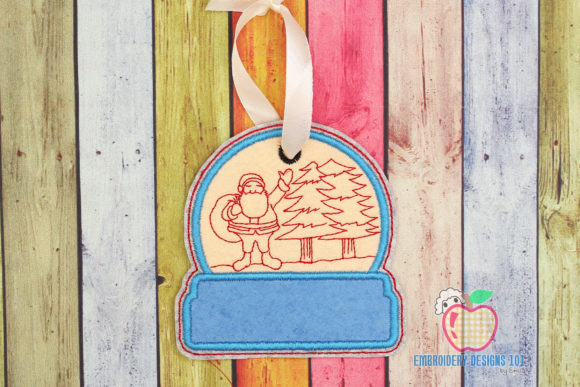
When I opened the Santa Claus Say Hi Ornament embroidery file, my first thought wasn’t “cute”—it was “usable.” That’s rare. So many holiday designs lean heavily into whimsy or clutter, but this one balances charm with clarity. The composition is centered, circular, and intentionally compact—no sprawling branches or dangling ribbons that risk distortion on curved surfaces. Santa’s face reads clearly at 4x4 scale, his cheerful expression intact even in satin-stitched eyes and a soft fill-stitched beard. The “Say Hi” text wraps neatly around his hat brim—not too tight, not too loose—and feels legible without magnification. It’s a machine embroidery design that respects both stitch integrity and human readability.
Where This Ornament Design Actually Shines
I tested Santa Claus Say Hi Ornament on three real-world items: a cotton twill apron for a local bakery’s holiday staff gift, a set of organic cotton baby onesies, and a linen tea towel for a small shop’s seasonal collection. On the apron, it landed perfectly above the pocket—clean, friendly, and instantly recognizable as handmade. On the onesies? The scale held up beautifully; no crowding, no loss of detail, and the light fill stitch didn’t overwhelm delicate fabric. And on the tea towel? It added warmth without competing with the texture—especially when paired with a subtle gold thread on natural linen.
This isn’t just an ornament—it’s a versatile embroidery file that works as a standalone patch, a sweatshirt chest accent, a tote bag focal point, or even a nursery wall hanging when stitched onto felt and mounted. Its in-the-hoop construction means minimal finishing time, which matters when you’re producing for craft fairs or Etsy listings. As a designer, I appreciate that it doesn’t demand extra appliqué layers or complex trimming—just clean stitching, smart spacing, and intentional negative space.
Where to Proceed With Care
Like any well-intended design, Santa Claus Say Hi Ornament has boundaries. On stretchy fabrics like jersey or lightweight knits, I recommend testing stabilizer combinations first—lightweight cutaway works best to prevent puckering around the dense satin-stitched hat trim. On dark fabrics, double-check thread contrast: the reds and whites pop on cream or tan, but may need deeper-toned reds or off-white threads on navy or charcoal. And while it fits cleanly in a 4x4 hoop, avoid placing it near seams, darts, or curved edges (like cap crowns) unless you’ve pre-tested alignment—those tiny letterforms can skew if tension shifts mid-stitch.
Also worth noting: the “Hi” text uses a clean, rounded font—but it’s small. On textured fabrics like terry cloth or heavy burlap, those letters can blur. If you’re planning embroidered patches or iron-ons, consider adding a narrow black outline stitch (if your digitizing allows) or switching to a slightly bolder font variant for improved definition.
What It Adds to Your Finished Product—Beyond Just Looks
Customers notice intentionality. When someone sees Santa Claus Say Hi Ornament on a personalized gift, they don’t just see Santa—they see care. The balanced layout says “designed,” not “downloaded.” That builds trust, especially for Etsy sellers and small shop owners who rely on perceived craftsmanship to justify pricing. I’ve watched buyers pause longer over items featuring this design in mockups—particularly when styled on neutral backgrounds with warm lighting. It reads as joyful but grounded, festive but not frantic.
For commercial embroidery projects, it holds up across branding contexts: a boutique coffee shop used it on holiday aprons with their logo embroidered subtly below, and a children’s boutique layered it beside a custom monogram on baby blankets. In both cases, the design supported—not overpowered—their voice. That’s the mark of strong design assets: flexibility without sacrificing personality.
Practical Notes Every Embroidery Designer Should Run Through
- Always test on scrap fabric first—especially if using non-standard stabilizers or thread brands.
- Review stitch density before scaling: the beard and hat use moderate fill, but avoid aggressive resizing down below 3.5” without checking for skipped stitches.
- Confirm hoop size compatibility: it’s built for 4x4, so verify your machine’s actual usable area—some models lose 1/8” at the edge.
- Inspect small details under magnification: the smile curve, eyelash accents, and “Say Hi” kerning all hold up, but only if digitized cleanly (this one does).
- Test in black-and-white mockups to assess contrast and silhouette—critical for digital product previews and printable mockups.
- Compare light vs. dark fabric backgrounds in your design software before committing to thread colors.
- Use appropriate stabilizer: tear-away for stable wovens, cutaway for knits or lightweight fabrics.
- Verify licensing terms before selling finished items or bundling the file—you’ll need confirmation it supports commercial embroidery and craft business use.
Final Thought: A Reliable, Human-Centered Holiday Asset
Santa Claus Say Hi Ornament won’t win awards for avant-garde innovation—but it’s exactly the kind of embroidery file that earns repeat orders, positive reviews, and quiet confidence from makers who value consistency over flash. It’s designed for doing, not just displaying. Whether you’re stitching holiday gifts for neighbors, building a seasonal product line, or creating custom apparel for clients, this design delivers clarity, charm, and practicality—all in one 4x4 hoop. That’s not just convenience. That’s professional respect—for your time, your machine, and your customers’ expectations.